Cash Flow Assistant
Installation Instructions
Install Connector
Install Dynamics Business Central Data Connector App
Install App
Install Power BI Cash Flow Assistant App
Connect Data
Enter credentials for your Business Central
Share App
Share the new app with
your team
Step 1: Install the Connector App
1. Open the Power BI Insights Connector in Appsource. (Use the link above) and click on the Free Trial button. (Note: You will have to sign in to Appsource. Appsource requires a work or school account to continue. Microsoft accounts are not supported for this app.)
2. The connector app starts as a free trial for the first 30 days and then switches to a subscription. If you decide to cancel the subscription before the end of the trial period, you will not be billed.

3. Choose the environment and select Install.

4. Choose Language and click Install. It can take a few minutes for the installation to be completed.

STEP 2: Install Cash Flow Assistant App
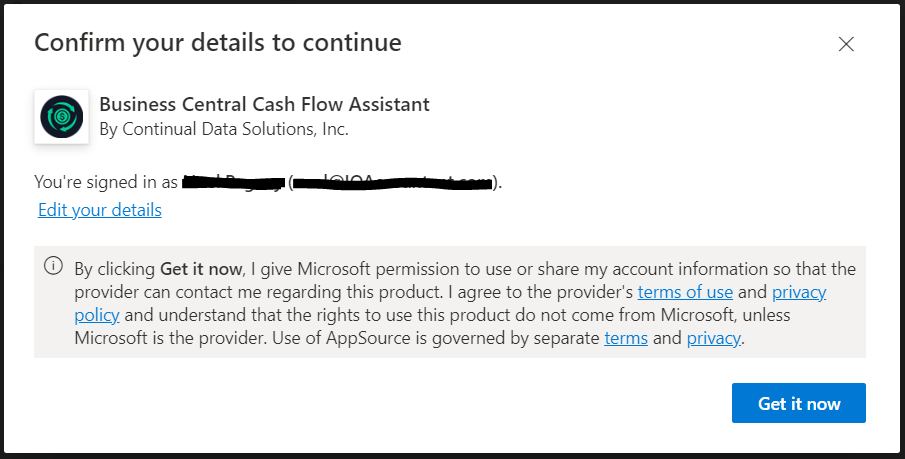
1. Get it now button from Appsource. (Note: You will have to sign in to Appsource. Appsource requires a work or school account to continue. Microsoft accounts are not supported for this app.)
2. Click the Get it now button after logging into Appsource.

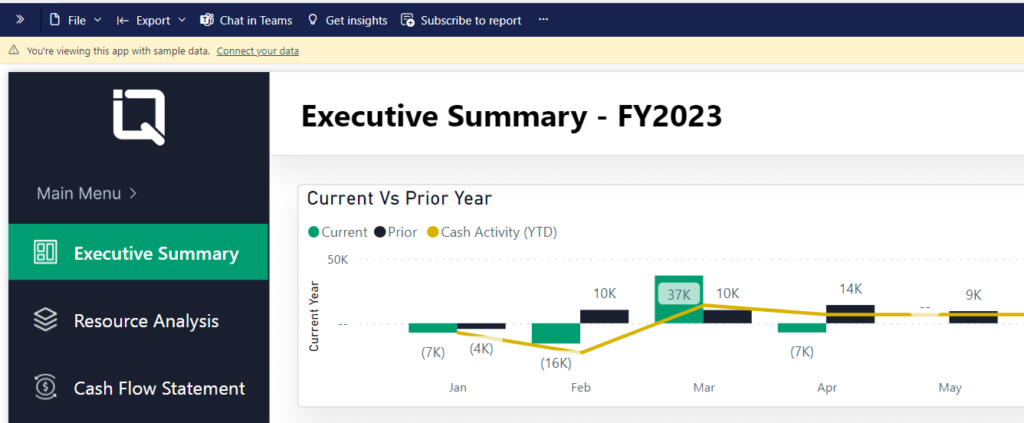
3. Click Get It Now button. The Cash Flow Assistant will be installed (with sample demo data) into the Power BI Service.

4. Cash Flow Assistant App will be installed on the apps page.

5. Click on the app to open the report and continue to ‘connect your data.
STEP 3: Connect your data and refresh
1. Sign in to Power BI Service (app.powerbi.com).
2. Open the Cash Flow Assistant App in your Apps.
3. Click on ‘Connect your Data’ link. (Note: Please reconfirm the installation of the Financial Performance Analytics Data Connector for Business Central is installed before this step (Refer to STEP 1 above)

4. Enter the Environment Type: PRODUCTION or SANDBOX, and enter the name of the company to access in Business Central.

5. You will be prompted to enter your Business Central credentials after clicking ‘Sign In and Connect.


6. The refresh will begin and will run until completed. If you encounter any errors, please ensure the Company name is spelled correctly and in the correct case sensitivity.
7. The dataset will begin refreshing on a schedule. Based on your user requirements, this can be adjusted. Please link to the Microsoft document for more information: https://learn.microsoft.com/en-us/power-bi/connect-data/refresh-data
Step 4: Share the app
1. Go to the workspace settings link in the workspace.

2. Click on ‘Update App’ and select the Permissions page. Here you can select who has access to the app. Also, check the Installation checkbox for automatic installation of the app.

3. Another way to grant access to people or groups is with the ‘Manage Access’ button.

